We were brainstorming project ideas when the idea of a tech deck skatepark came to our minds. It would be a fun project to make, in addition to the fact that we would get good use out of it. We started by looking through images of tech deck skateparks and finding ones that we liked, that we would use to get inspiration from. We planned out in a general sense what we wanted to make, and what materials we would need.
Step One: Gathering Materials
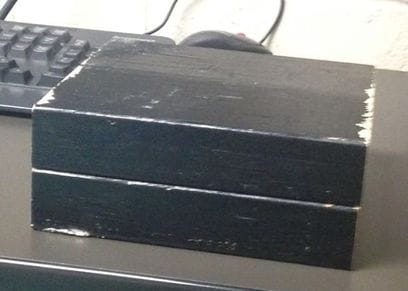
Since this was Green Industries, we wanted to create this skatepark out of recycled materials. Mr. Klompmaker took us to the storage container in our parking lot that was going to be disposed, where we picked out one long piece of black wood. This was the wood that we decided we were going to create the whole thing out of, wood that would have otherwise been thrown out.
Step Two: Cutting and Glueing Wood
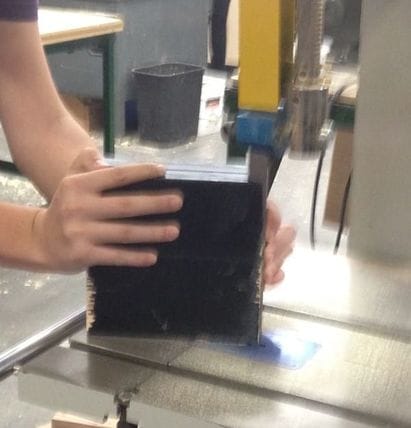
What we wanted to make was called a tabletop. It consists of an upwards ramp, a flat section, and a downwards ramp. We cut four pieces of wood measuring 8 by 6 by 2 inches, and then glued these pieces of wood into pairs. One of these "blocks" will become the two ramps, and the other "block" will be the flat section of our skatepark.
Step Three: Cutting the Ramps and Sanding the Wood
After leaving the glue to dry overnight, we began to cut one of these blocks into our two ramps. Because we needed it to line up heightwise to the flat part, we cut this block at a 45° angle in order for this to happen. Now we had the main part of our tabletop. Because we had glued two pieces of wood together in order to get our desired height, we had to sand down the crack where these two pieces of wood were joined. This let us smooth out the wood, not only making it easier to handle, but also smoother to ride up it once finished.
Step Four: Making a Rail
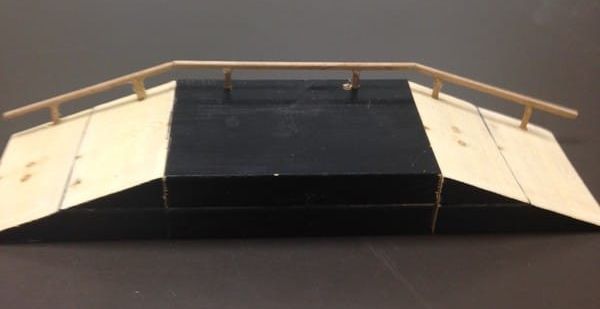
Our tabletop was essentially done, but we wanted to add more to make it a bit more exciting. We did this through the addition of a rail that followed the tabletop: up, flat, down. We took some old floor board pieces and after measureing the length of rail we would need, we cut them to size. After we cut them, we sanded them down to get the correct angle for them to fit together following the tabletop.
Step Five: Attaching the Rail
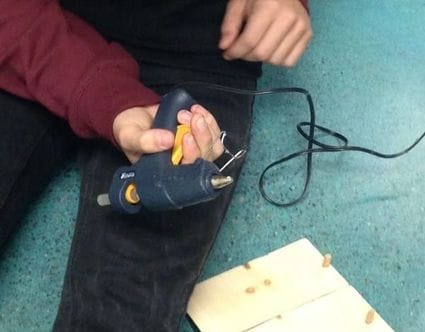
To attach the rail, we drilled holes along the edge of the ramp to put support bars in order the rail. After drilling, we lined everything up and started by glueing the support bars into the holes drilled, then glued the ramp to the support bars, finishing the project. We let the glue dry, then began to test out the tabletop.